888-963-9454
Mon-Sun: 9am-6pm CST
888-963-9454
Mon-Sun: 9am-6pm CST
Managing your home's water quality doesn't have to be a chore reserved for the experts. If you've noticed a dip in your water's clarity or flow, it might be time to change your whole house water filter – and we're here to guide you through it. This blog post is your ally, providing a clear-cut, step-by-step walkthrough to tackle the task with confidence.
Get set to empower yourself with a valuable new skill. We'll take you through the necessary prep, the main event of swapping out the filter, and all the little details in between. By the end, you'll not only enjoy the fruits of your labor in the form of cleaner, purer water but also the satisfaction of handling it all on your own.

If you're looking to change your whole house water filter, it's important to first understand the components of the filter system. This will help you choose the right replacement filter and ensure that your water is properly filtered.
A typical whole house water filter system consists of three main components: a sediment pre-filter, a carbon filter, and filter cartridges. The sediment pre-filter is the first line of defense and removes larger particles such as sand, silt, and rust from the water. The carbon filter is the second stage and removes smaller particles, as well as chlorine and other chemicals. The filter cartridges are the final stage and are responsible for removing any remaining impurities.
There are several types of whole house water filters available, each with its own advantages and disadvantages. Some common types include:
When choosing a replacement filter, make sure to consider your specific needs and the water quality in your area. You may also want to consult with a professional to ensure that you choose the right filter for your system.
Before replacing your whole house water filter, you need to take the necessary precautions to ensure your safety and to avoid any damage to your plumbing system. In this section, we will discuss the safety precautions and the tools and materials you will need to prepare for the filter replacement.
First and foremost, turn off the water supply to your house. This will prevent any water from flowing through the plumbing system while you are replacing the filter. You can turn off the water supply by locating the main shut-off valve and turning it clockwise until it is fully closed.
Next, make sure to relieve any pressure in the system by opening a faucet or valve downstream from the filter. This will prevent any water from spraying out when you remove the filter housing.
It is also important to wear protective gloves and eyewear to prevent any injuries while handling the filter and tools.
To replace your whole house water filter, you will need the following tools and materials:
The filter wrench or strap wrench will be used to loosen the filter housing. The bucket or container will be used to catch any water that may spill out when removing the filter housing. The towels or rags will be used to clean up any spills or drips.
Silicone grease should be applied to the o-ring before reassembling the filter housing to ensure a tight seal. If the o-ring is damaged or missing, it will need to be replaced before reassembling the housing.

Changing a whole house water filter can be a simple process if you follow the right steps. This section will guide you through the process step-by-step.
Before you begin changing your whole house water filter, it is essential to shut off the water supply to your home. You can do this by closing the main water valve that supplies water to your home. Once you have turned off the water supply, turn on all the faucets in your home to relieve water pressure and allow water to leave the pipes.
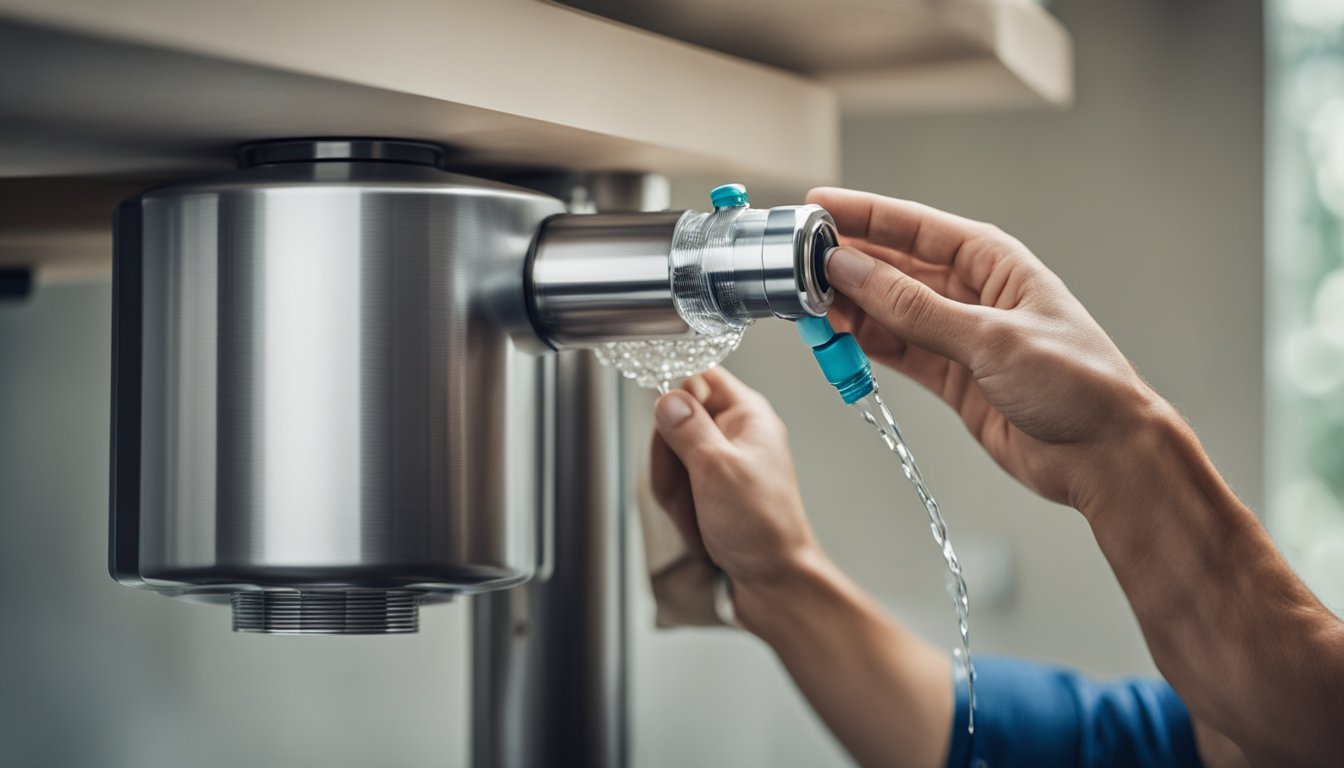
The next step is to remove the old filter. To do this, locate the filter housing. The filter housing is usually located near the main water supply line. Once you have located the filter housing, use a filter wrench to loosen the housing. Turn the housing counterclockwise until it comes loose.
After removing the housing, remove the old filter cartridge. Check the cartridge for any damage or sediment buildup. If the cartridge is damaged or has a lot of sediment buildup, replace it with a new one.
Once you have removed the old filter, it's time to install the new one. Before installing the new filter, make sure to lubricate the o-rings on the filter housing with silicone lubricant. This will help to ensure a tight seal and prevent leaks.
Insert the new filter cartridge into the filter housing, making sure it is properly aligned. Tighten the filter housing back into place by turning it clockwise. Use the filter wrench to tighten the housing, but be careful not to overtighten it as this can cause the housing to crack.
After installing the new filter, turn on the water supply to your home and check for any leaks. If there are no leaks, you have successfully replaced your whole house water filter.
After replacing your whole house water filter, it is important to perform a post-replacement checklist to ensure that everything is working properly. This will help you identify any leaks or issues that may have arisen during the replacement process.
The first step in your post-replacement checklist is to inspect for leaks. Turn on all the faucets in your home and check for any water leaks around the filter housing or pipes. If you notice any leaks, turn off the water supply immediately and tighten the connections. If the leak persists, you may need to replace the gasket or the entire housing.
Once you have inspected for leaks and made any necessary repairs, you can restore the water supply and test the flow rate. Turn on the water supply and let the water run for a few minutes to flush out any air pockets in the system. Then, check the flow rate at each faucet to ensure that it is consistent and strong.
If you notice a decrease in flow rate, it may be due to a clogged filter or a faulty installation. In this case, turn off the water supply and check the filter for any debris or blockages. If the filter is clean and the flow rate is still low, you may need to re-install the filter or seek professional assistance.
Regular maintenance and cleaning of your whole house water filter system are crucial to ensure that it functions efficiently and effectively. Here are some tips to help you maintain your water filter system:
Inspect your water filter system on a regular basis to ensure that it is functioning properly. Check for any leaks, cracks, or damage to the filter housing, fittings, and pipes. Replace any damaged parts immediately.
Clean your filter system regularly to prevent clogging and ensure that it is working efficiently. Follow the manufacturer's instructions on how to clean your filter system. Generally, you will need to turn off the water supply, release pressure in the filter, remove the filter housing, replace the filter, and re-install the housing.
If you are unsure about how to maintain or clean your water filter system, or if you notice any problems with your system, it is best to call a professional plumber. A professional plumber will be able to diagnose and fix any issues with your water filter system, and ensure that it is functioning properly.
Remember to schedule regular maintenance and cleaning of your whole house water filter system to ensure that it is working efficiently and effectively. Most filters need to be replaced every 6 to 12 months, depending on usage and water quality. Follow the manufacturer's instructions on how often to replace your filter.
Mastering the change of your whole house water filter is a clear step towards ensuring continued access to pure, safe water in your home. With this task now in your skill set, you'll maintain your water's quality and efficiency with ease. And remember, this guide is here for you whenever it's time for a quick refresher or you're ready to tackle the replacement again.
Interested in exploring more options for your water purification needs? Dive into a curated selection of residential water filters and find the perfect match to keep your tap water tasting great and your home's water system in top condition.
To change your whole house water filter, you will need to locate and shut off the water supply first. Then, relieve the pressure by switching on all the faucets around your home to release pressure and allow water to leave the pipes. Close your home's outlet valve (if you have one). Use a filter wrench to remove the old filter housing and install the new one in its place. Finally, slowly re-pressurize the water system to help maintain the integrity of your whole house water filter setup.
No, whole house water filters are not interchangeable. Different filters are designed to remove different contaminants and impurities from the water. Therefore, it is important to choose the right filter for your specific needs and replace it with the same type of filter when it needs to be changed.
The frequency of changing your whole house water filter depends on various factors such as the quality of your water supply and the type of filter you are using. Generally, it is recommended to change your filter every 6-12 months, but some filters may need to be changed more frequently. It is important to follow the manufacturer's recommendations for your specific filter.
Flushing a whole house water filter typically takes about 5-10 minutes. This process involves running water through the filter to remove any loose particles and debris that may have accumulated over time.
To maintain your whole house water filter, replace the filter cartridge as recommended by the manufacturer. Regularly check the filter for any signs of damage or wear and tear. You can also clean the filter housing with a mild detergent and warm water to remove any buildup that may have accumulated over time.
To unscrew a whole house water filter, turn it counterclockwise. This will loosen the filter housing and allow you to remove the old filter. When installing a new filter, turn it clockwise to tighten the housing and ensure a secure fit.